IN-PROCESS MEASURING
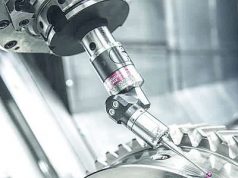
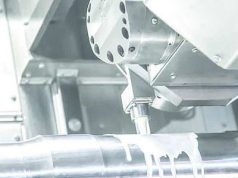
Easy programming of complex probing with a comprehensive cycle package. In turning, milling or boring the sequence „semi finish cut – probe – finish cut“ produces extremely high accuracies in size and position even with complex workpieces.
The probe, which is stored in the standard tool magazine, is used for fully automatic length and circumferential orientation of workpieces after clamping by means of pre-machined or cast features.
After and during machining the results can be gauged and stored on the hard disk, transmitted via Ethernet or printed showing the final dimensions.

